Getting Started
Some info to get you started.
Installation
To install TÖVE, grab TÖVE's binaries package and unzip it inside your LÖVE project (as a folder called tove). You should then be able to load TÖVE using tove = require "tove".
TÖVE's folder contains four files:
init.lua: a Lua library binding to lovelibTove.dll: TÖVE library (for Windows)libTove.dylib: TÖVE library (for macOS)libTove.so: TÖVE library (for Linux)
Since you're running only on one platform, you'd only need one of the binary files, but they are all included for convenience.
Drawing a Triangle
Let's draw a triangle.
First import TÖVE as described above. Then create a Graphics instance, which is the main API for drawing in TÖVE:
local tove = require "tove"
local myDrawing = tove.newGraphics()
Graphics provides various functions of drawing and works similar to a canvas. Here comes our triangle:
myDrawing:moveTo(100, 100)
myDrawing:lineTo(200, 250)
myDrawing:lineTo(50, 220)
myDrawing:fill()
moveTo moves your drawing brush to an absolute position. lineTo then draws two lines. fill finally tells TÖVE to close the shape (i.e. supplement the missing third line) and fill it (with the current fill color).
To see what we've drawn, we need to display the Graphicsinstance to the screen like this:
function love.draw()
    myDrawing:draw()
end
Now you should see the image below; note that the coordinates you put into the moveTo and lineTo earlier correspond to the position of the triangle on LÖVE screen.
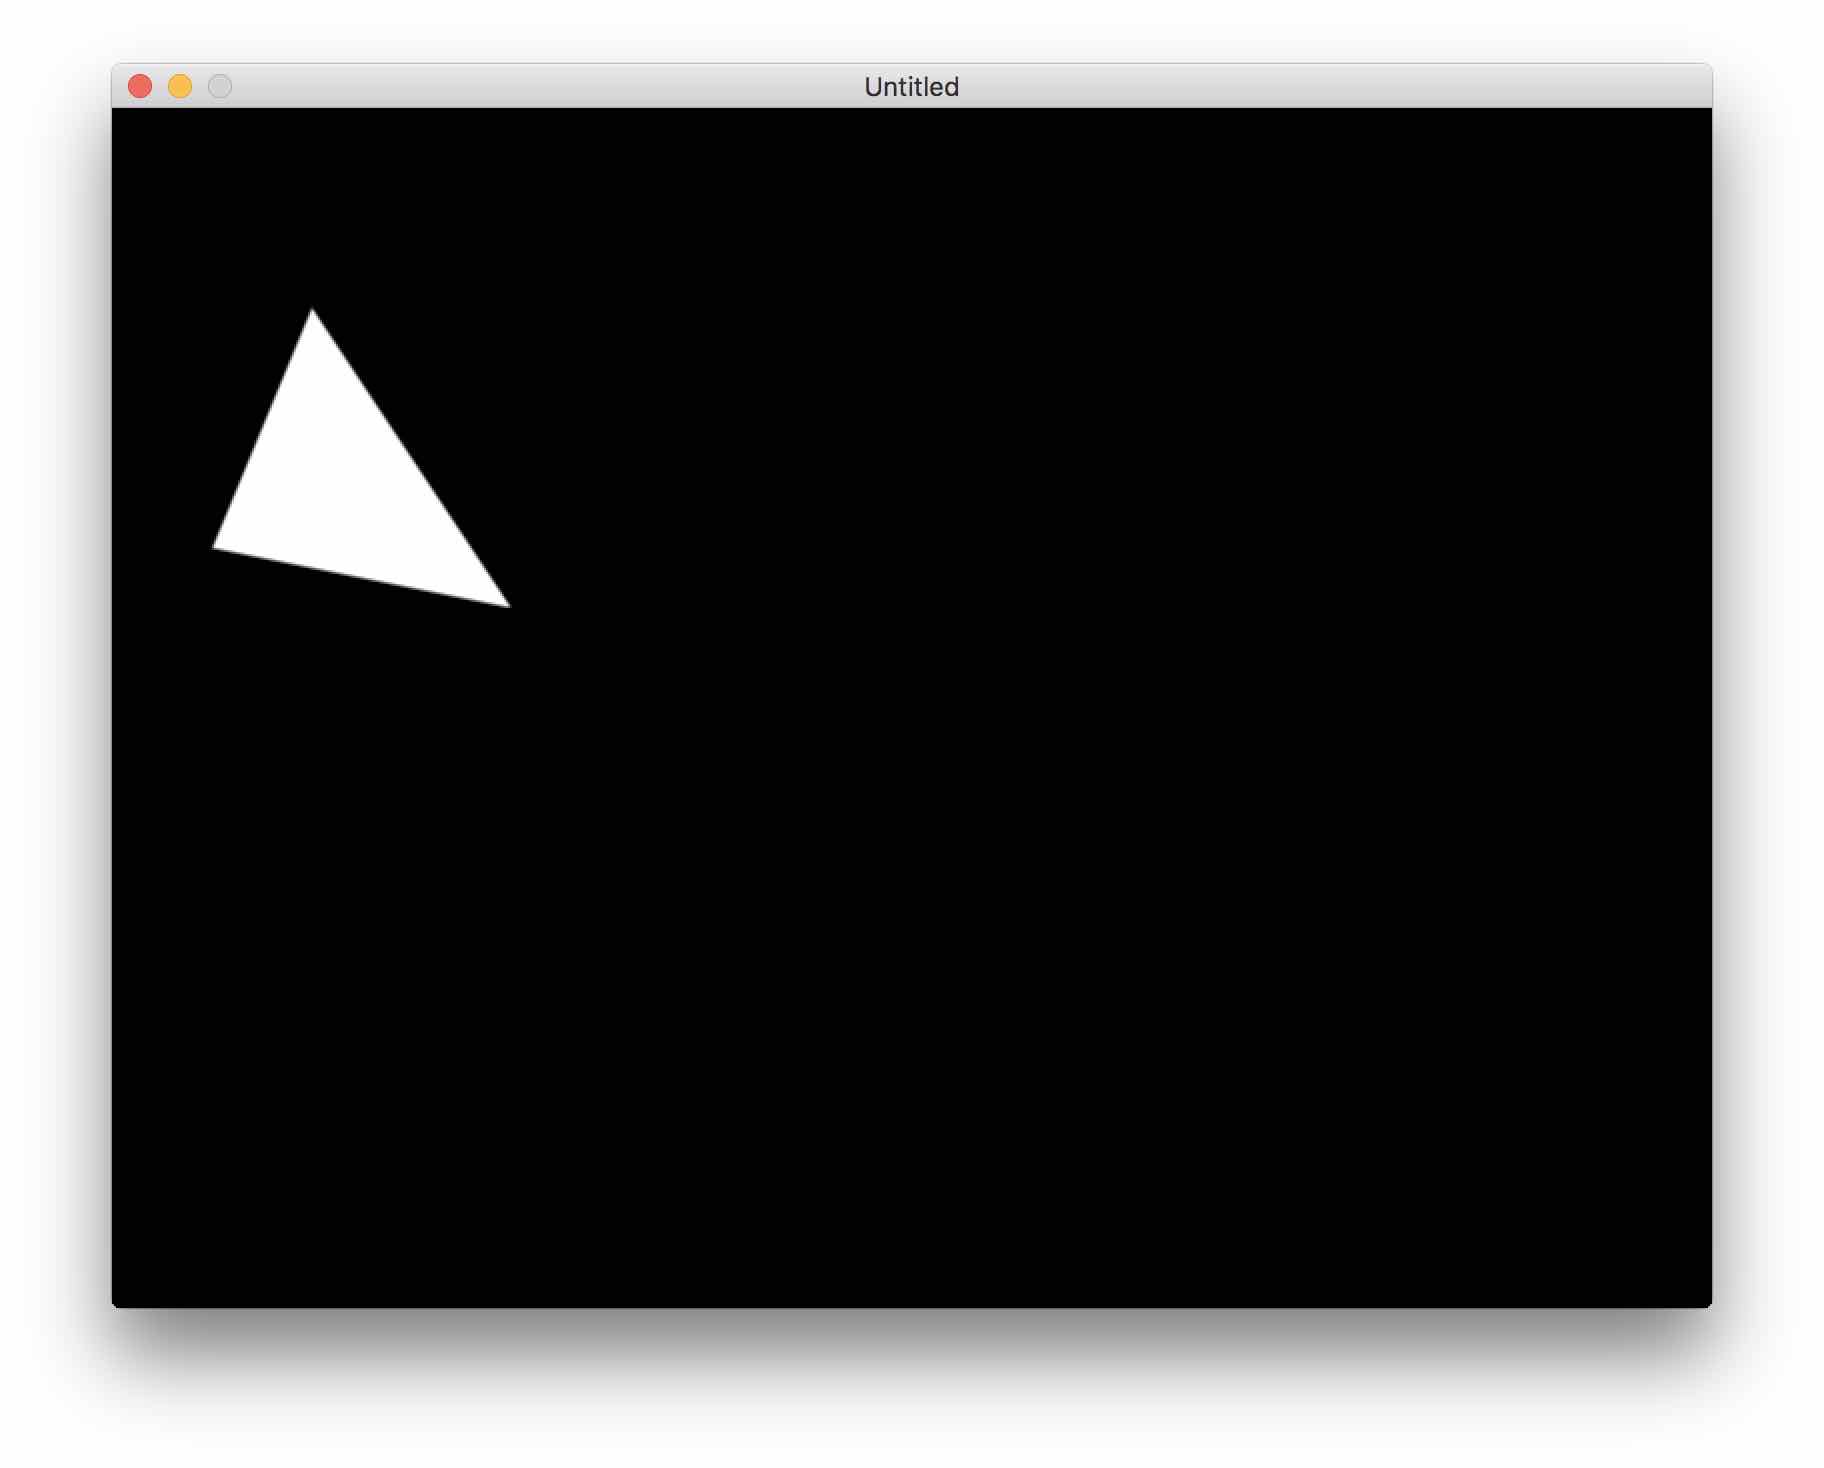
Wow, very impressive, no?
Ok, you could indeed add some color by calling setFillColor before doing the fill:
myDrawing:setFillColor(0.8, 0.4, 0.6)
myDrawing:fill()
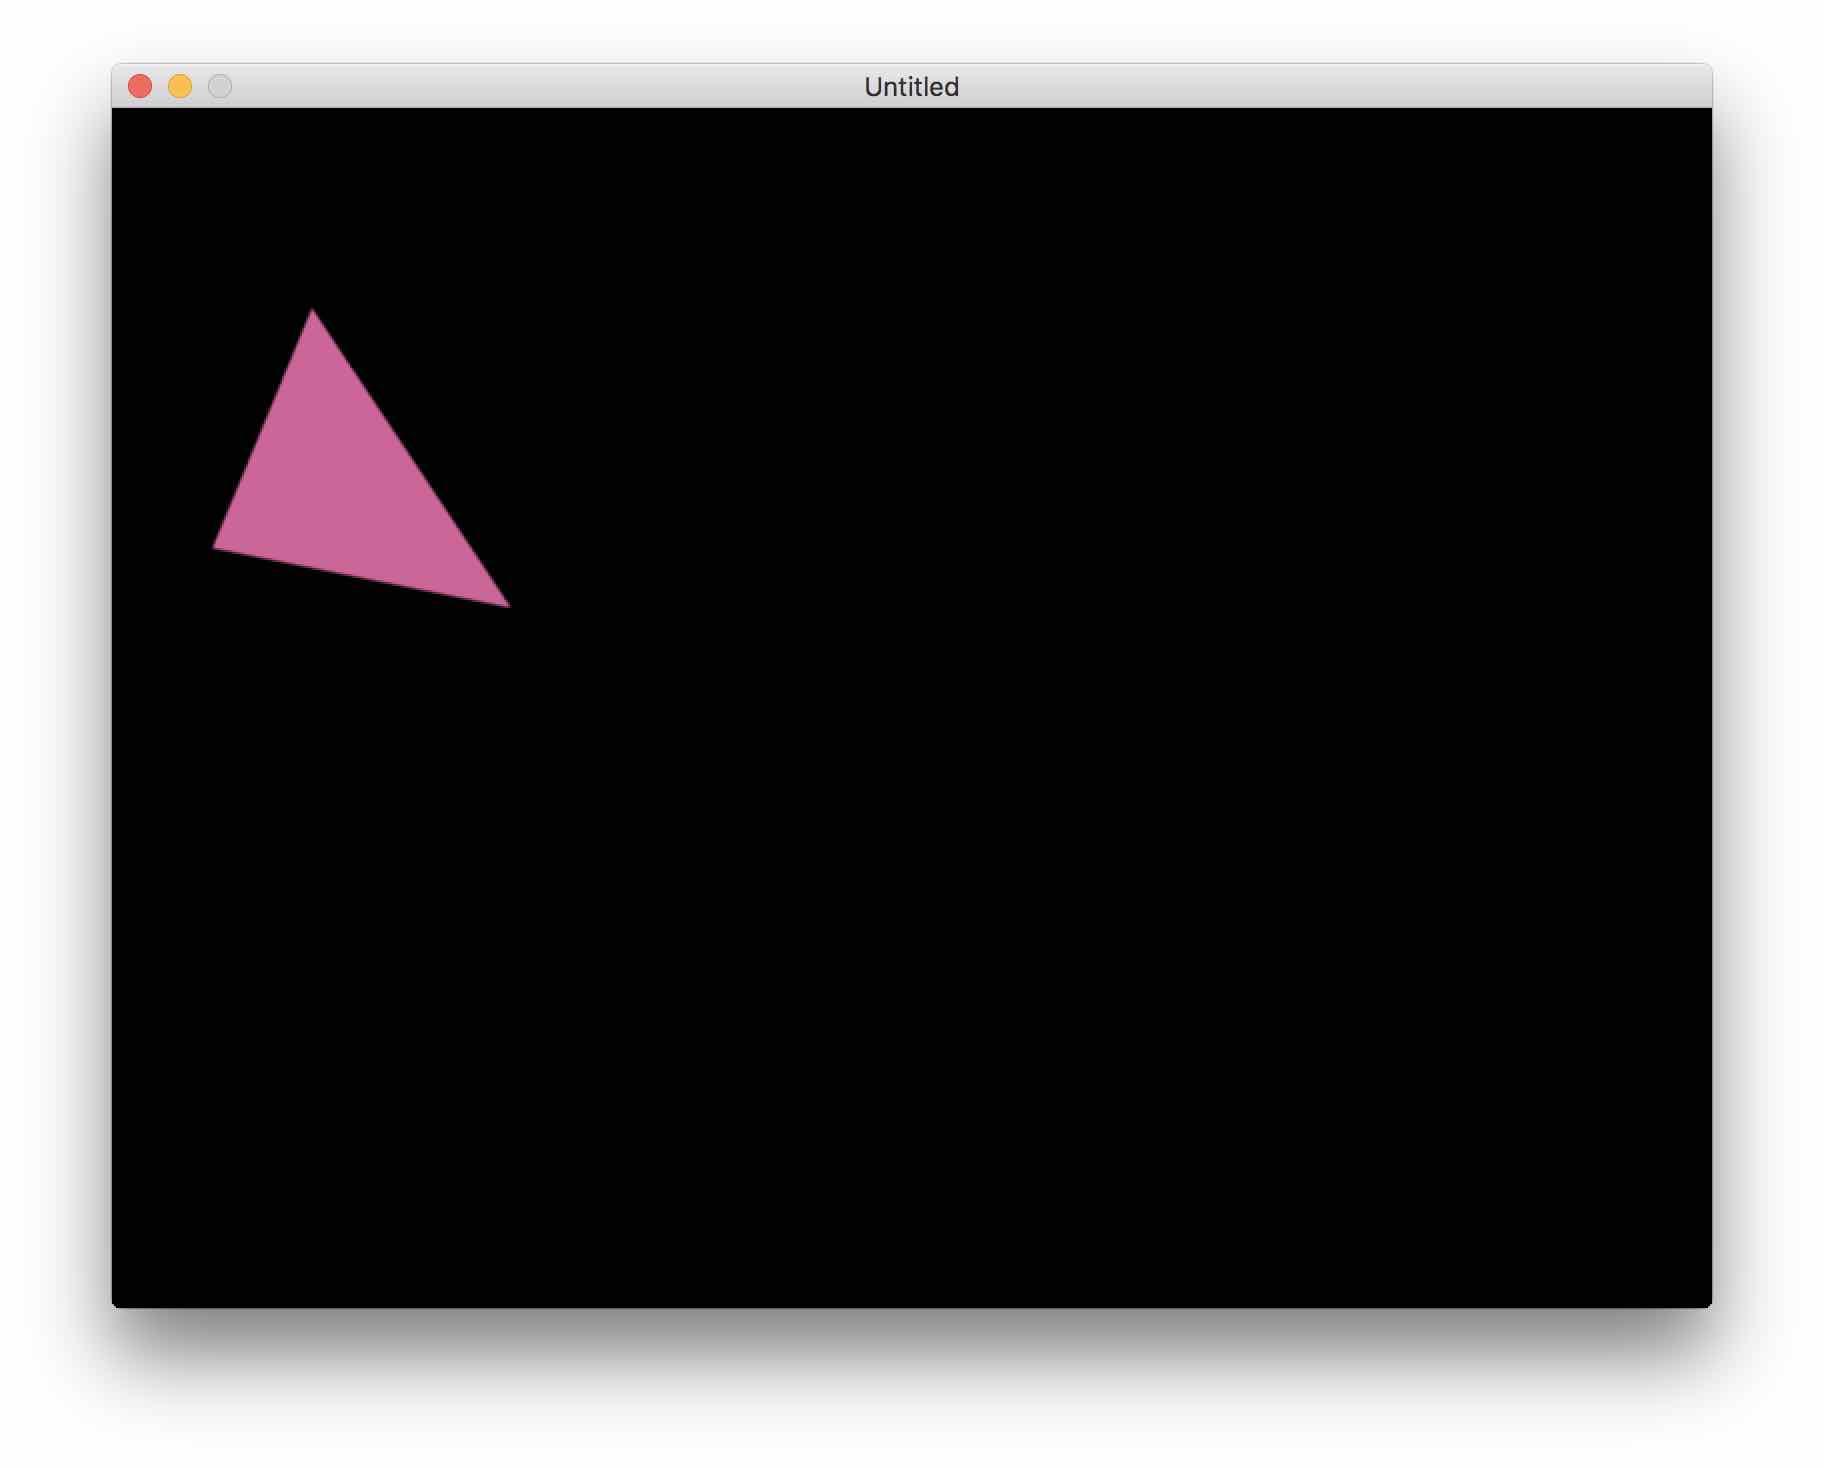
Note: setFillColor can take RGBA values, but you can also specify HTML colors , e.g. setFillColor(#80AA20).
At this point, you might wonder what TÖVE is about. All this can be done with LÖVE as well. So on to the next section:
Curves, lines and gradients
While TÖVE supports straight lines, curves are its real matter. Let's bend one side of our triangle by replacing the first lineTo from above with a curveTo, which will draw a cubic bezier curve:
myDrawing:moveTo(100, 100)
myDrawing:curveTo(120, 100, 210, 200, 200, 250)
myDrawing:lineTo(50, 220)
myDrawing:setFillColor(0.8, 0.4, 0.6)
myDrawing:fill()

curveTo takes the positions of two control points (x1, y1, x2, y2) and one target point (x, y). Together with the previous starting point this makes four points to define the cubic bezier curve.
This is a good place to note that you can also use drawCircle(x, y, r) and drawEllipse(x, y, rx, ry) to draw circles and ellipses, and drawRect(x, y, w, h, rx, ry) to draw (rounded) rectangles.
Let's continue with our triangle. Adding a bluish stroke of line width 10 is as simple as appending this code:
myDrawing:setLineColor(0.2, 0.4, 0.6)
myDrawing:setLineWidth(10)
myDrawing:stroke()

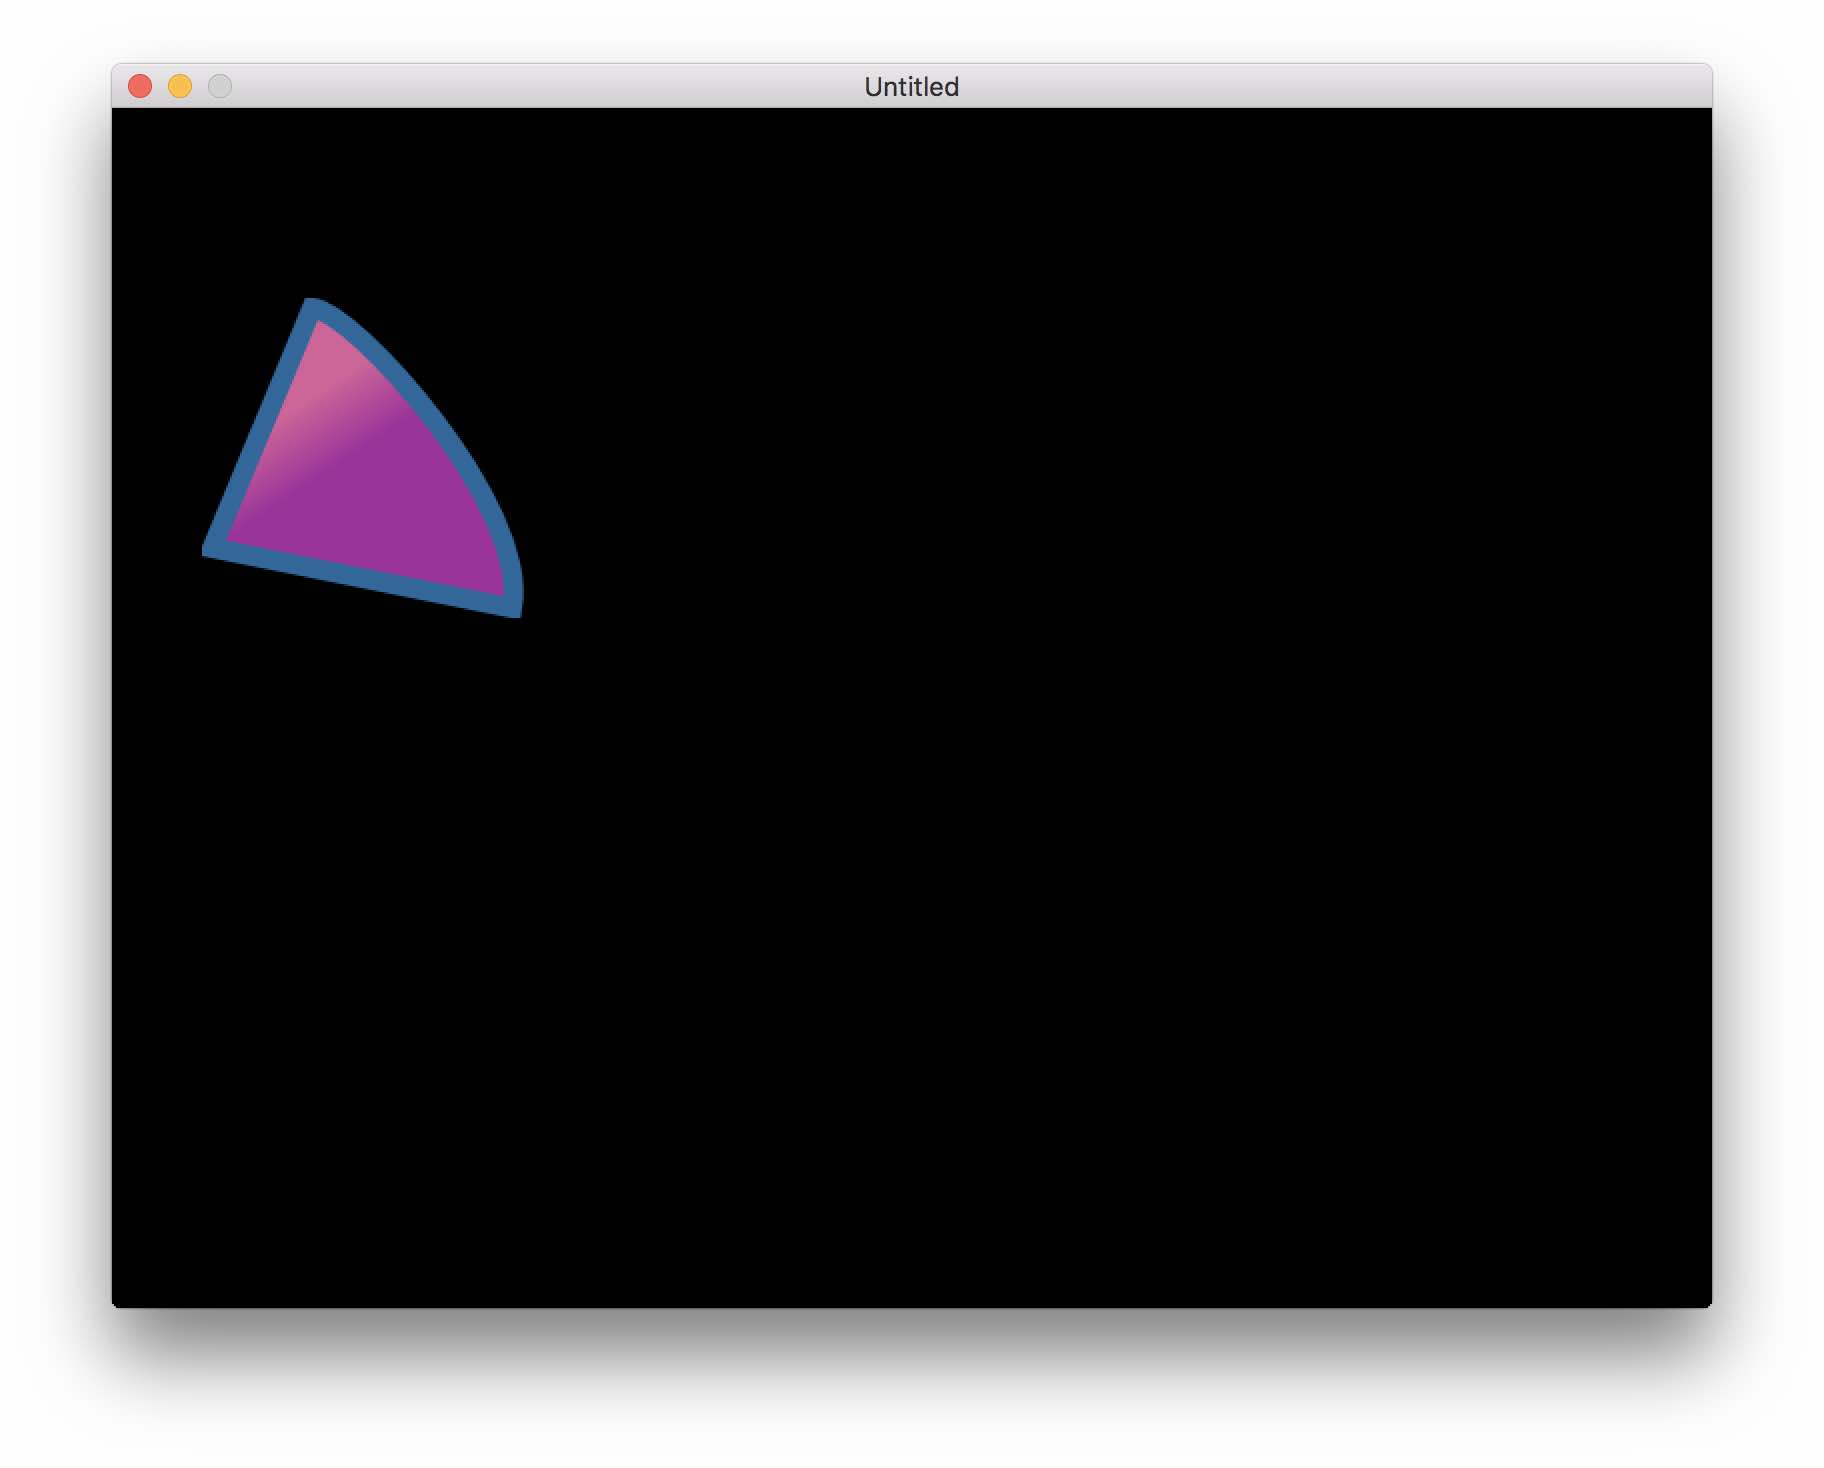
Now, instead of a solid purple fill, let's use a linear gradient to make things more interesting:
local gradient = tove.newLinearGradient(120, 130, 140, 160)
gradient:addColorStop(0, 0.8, 0.4, 0.6)
gradient:addColorStop(1, 0.6, 0.2, 0.6)
myDrawing:setFillColor(gradient)
myDrawing:fill()
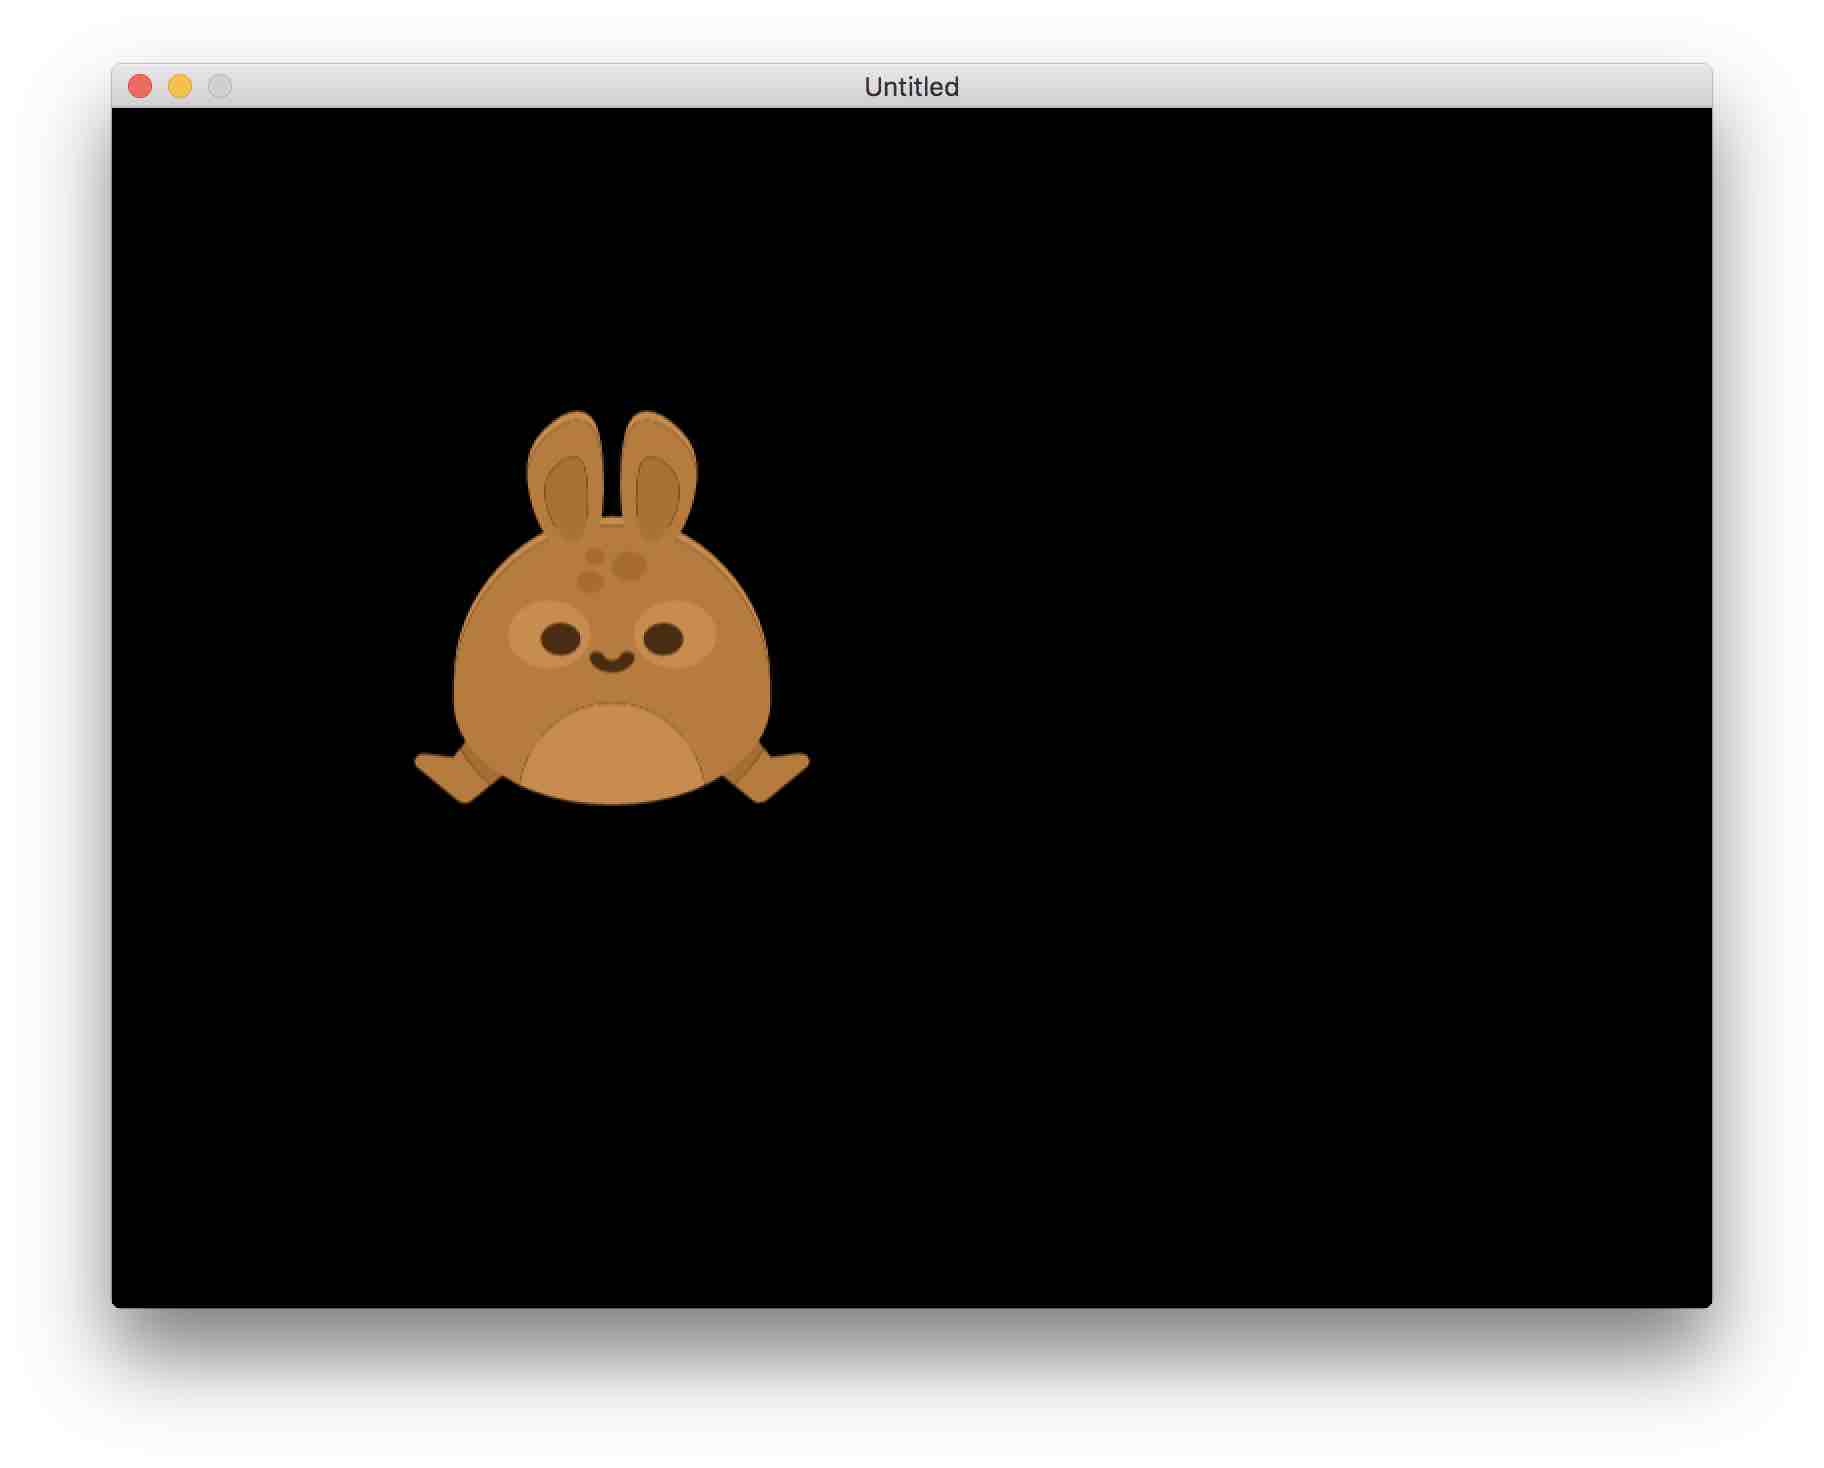
Importing SVGs
Yes, you can import SVGs, and it's as simple as this:
local rabbit = love.filesystem.read("assets/rabbit.svg")
local myRabbit = tove.newGraphics(rabbit, 200)

function love.draw()
    love.graphics.translate(250, 250)
    myRabbit:draw()
end
The call to newGraphics takes the actual SVG data that was loaded via love.filesystem.read. The optional second parameter, 200, tells TÖVE to prescale the graphics to 200 pixels. If this is omitted, the SVG's natural scaling will be used, which assumes you know its exact scaling.
Note that after loading the SVG, TÖVE no longer cares whether it's dealing with an SVG or a manually constructed graphics (meaning you can change the renderer and so on).